UV Resin Kit for Bonding: A Complete Guide to Strong, Long-Lasting Bonds
Introduction
UV resin kits have become an essential tool for crafting, repairing, and bonding a variety of materials. Whether you’re a DIY enthusiast, a crafter, or a professional in need of reliable adhesives, a UV resin kit for bonding is a must-have in your toolkit. This blog will walk you through everything you need to know about UV resin kits and how they can help you create strong, durable bonds.
What is a UV Resin Kit?
A UV resin kit contains a specially formulated liquid resin that hardens when exposed to UV (ultraviolet) light. Unlike traditional adhesives, which require time and clamping, UV resin bonds are cured quickly using UV light. These kits often include resin, a UV light source, mixing tools, and sometimes gloves and other safety gear. The result is a fast-curing, transparent bond that is ideal for a variety of materials such as glass, metal, wood, and plastic.
Key Features of a UV Resin Kit:
- Quick Curing: Hardens in minutes under UV light.
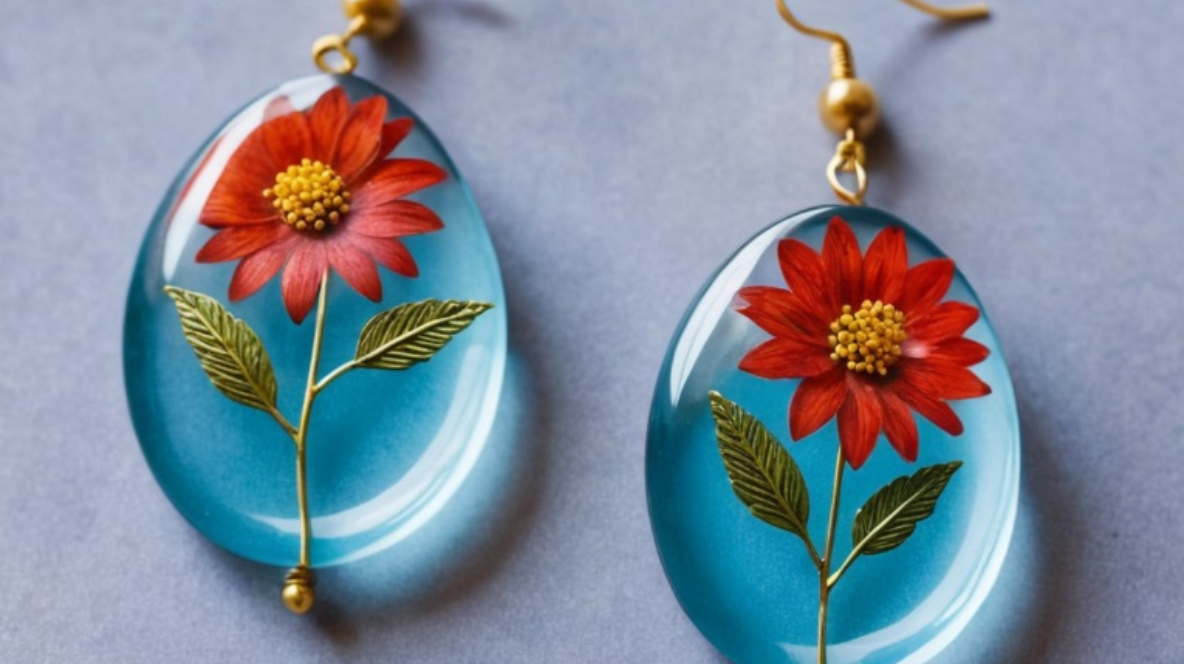
- Crystal Clear Finish: Provides a clear, glossy finish that’s perfect for jewelry making, repairs, and more.
- Versatile: Works on various materials like glass, metal, ceramics, wood, and plastic.
- Strong Bond: Creates a durable, long-lasting bond that’s resistant to heat, water, and chemicals.
How Does UV Resin for Bonding Work?
The UV resin in these kits is a liquid polymer that remains in its liquid form until exposed to ultraviolet light. When the UV light is applied, the resin undergoes a chemical reaction, curing it into a solid, tough bond. The curing process can be done in a few minutes, making it faster than many traditional adhesives that require hours to fully set.
Step-by-Step Process for Using a UV Resin Kit for Bonding
- Prepare the Surface: Clean the surfaces of the materials you wish to bond. Any dirt, dust, or oils can weaken the bond.
- Apply the Resin: Squeeze a small amount of resin onto the surface of one material. Be sure to apply it evenly.
- Join the Pieces: Press the materials together. The resin should spread out and create an even layer between them.
- Cure with UV Light: Use the UV light provided in the kit to cure the resin. Typically, it takes 1-3 minutes under a UV lamp to fully harden.
- Finishing Touches: Once the bond is set, you can trim off excess resin or polish the area for a smooth finish.
Benefits of Using a UV Resin Kit for Bonding
1. Speed and Convenience
UV resin kits allow you to bond items much faster than traditional methods. Instead of waiting hours for an adhesive to dry, the UV light instantly cures the resin, providing a strong bond in minutes.
2. Precision
The resin’s liquid form gives you precision in application, allowing you to work on intricate projects or tiny parts. You can apply the resin exactly where it’s needed without worrying about excess mess or spillage.
3. Crystal Clear Finish
Unlike some adhesives that can leave visible marks, UV resin cures to a crystal-clear finish, making it ideal for crafts like jewelry, decorative pieces, and repairs on clear surfaces.
4. Durable and Long-Lasting Bonds
The UV resin provides a permanent bond that is resistant to water, heat, and most chemicals. This durability makes it perfect for bonding materials that will experience frequent handling or exposure to harsh conditions.
Common Applications for UV Resin Kits in Bonding
Jewelry Making
For those interested in jewelry crafting, UV resin kits are ideal for creating beautiful pieces like pendants, rings, and bracelets. The resin can bond various elements, such as beads, metal findings, and glass cabochons.
Crafting and Repair
UV resin kits are perfect for small repairs around the home, such as fixing broken glassware, ceramics, or ornaments. You can also use them in crafting projects, from scrapbooking to miniature models, to create clear, lasting bonds.
DIY and Professional Repairs
For more serious bonding, UV resin kits can be used to repair items like phone screens, eyeglasses, or even small mechanical parts. The quick setting time ensures you won’t be left waiting for the adhesive to dry.
Tips for Using a UV Resin Kit Effectively
- Work in a Well-Lit Area: Since UV light is needed to cure the resin, make sure you’re working in a well-lit environment. A UV lamp is included in many kits, but the ambient light can also help.
- Wear Gloves: UV resin can be sticky, so it’s a good idea to wear gloves during application and curing.
- Avoid Over-Application: A little goes a long way with UV resin. Applying too much resin can result in excess that is difficult to clean up.
- Cure in Layers: For thicker materials or projects, it’s best to cure the resin in layers to ensure a stronger bond.
Conclusion: Why Choose a UV Resin Kit for Bonding?
Whether you’re looking to make crafts, perform repairs, or work on intricate DIY projects, a UV resin kit for bonding offers the convenience, precision, and durability you need. The speed and strength of UV resin make it the perfect solution for a variety of materials and applications. If you haven’t tried UV resin yet, it’s time to invest in a kit and see how it can enhance your next project!
The Incure VITOLITE + BLUEBOND UV bonding kit is the ideal choice for anyone looking to take their crafting and DIY projects to the next level. Its superior bonding strength, rapid curing time, and versatility make it a must-have for both beginners and experienced crafters. Click Here for demonstration.
Shop Now or Contact Us to learn more. Explore the full range of Incure solutions at www.incurelab.com


