Glass Adhesion Shrinkage Solutions: Preventing and Addressing Common Issues

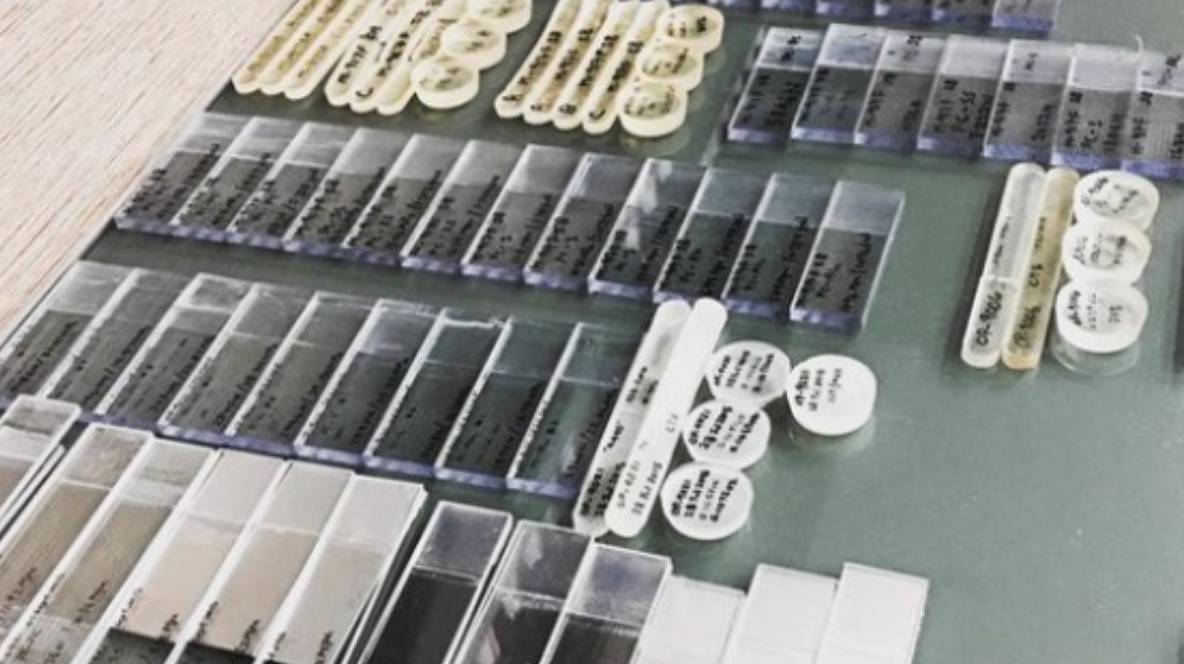
When working with glass adhesives, achieving strong adhesion and minimizing shrinkage are crucial for the success of your project. Glass is a challenging material for bonding due to its smooth surface and low surface energy, making the choice of adhesive and proper application techniques essential. Additionally, shrinkage after setting can affect the integrity and appearance of the bond. In this blog, we'll explore the common issues related to glass adhesion and shrinkage, and provide practical solutions to ensure optimal results. The Challenge of Glass Adhesion Why Glass Adhesion is Difficult Glass surfaces are notoriously smooth and non-porous, which can make it challenging for adhesives to form a strong bond. The low surface energy of glass often results in poor wetting and adhesion, requiring specialized adhesives and surface preparation techniques. Common Adhesive Options for Glass UV Adhesives: Cure under ultraviolet light and offer strong bonds for glass surfaces. They are ideal for applications requiring transparency and precision. Epoxy Adhesives: Provide a strong, durable bond and can be used for glass bonding, especially when working with larger or more demanding applications. Silicone Adhesives: Offer flexibility and are often used for sealing and bonding glass in environments that experience movement or expansion. Causes of Shrinkage After Setting 1. Chemical Shrinkage Issue: Some adhesives undergo a chemical reaction during curing that results in volume reduction. This shrinkage can affect the bond and create gaps or misalignment in the joint. Solution: Choose Low-Shrinkage Adhesives: Select adhesives specifically designed to minimize shrinkage. Check the manufacturer's technical data for information on shrinkage rates. Apply in Thin Layers: Applying adhesive in thin layers can help reduce the impact of shrinkage and ensure a more consistent bond. 2. Inadequate Curing Issue: Incomplete curing can lead to adhesive shrinkage as the material continues to react or dry after the initial setting. This can compromise the bond strength and lead to issues such as de-bonding or gaps. Solution: Follow Curing Instructions: Adhere to the manufacturer's guidelines for curing times and conditions to ensure full curing and reduce shrinkage. Use Proper Curing Equipment: Ensure that UV lights or other curing equipment are used as specified for the adhesive to achieve complete curing. 3. Temperature and Humidity Fluctuations Issue: Temperature and humidity changes can affect the adhesive’s curing process and lead to shrinkage or dimensional changes in the bond. Solution: Control Environmental Conditions: Maintain stable temperature and humidity levels during the curing process to avoid issues related to shrinkage. Perform Curing in Controlled Environments: Where possible, use curing chambers or controlled environments to ensure consistent conditions. 4. Surface Preparation Issue: Poor surface preparation can impact adhesive bonding and lead to issues such as uneven adhesion or gaps that become more noticeable after curing. Solution: Clean Glass Surfaces: Ensure that glass surfaces are thoroughly cleaned and free from dust, grease, or other contaminants before applying adhesive. Consider Surface Treatments: For challenging applications, use surface primers or treatments designed to enhance adhesion on glass. Best Practices for Achieving Strong Glass Adhesion 1. Select the Right…
Comments Off on Glass Adhesion Shrinkage Solutions: Preventing and Addressing Common Issues

Revolutionize Plastic Bonding for Manufacturing: Introducing Cure On Demand Incure UV Adhesives

In the fast-paced world of manufacturing, efficiency and reliability are paramount. Traditional adhesives often present challenges, with slow cure times and limitations on material compatibility. But what if there was a better way? Enter Cure On Demand Incure UV adhesives – a game-changing solution specifically designed to revolutionize plastic bonding for manufacturers. Why Choose Cure On Demand Incure UV Adhesives for Plastic? Unmatched Speed: Unlike traditional adhesives that take hours or even days to cure, Cure On Demand Incure UV adhesives cure in seconds upon exposure to UV light. This translates to significant time savings and increased production throughput in your manufacturing process. Exceptional Bond Strength: Don't be fooled by the fast cure time. Our UV adhesives form incredibly strong bonds that surpass the performance of many solvent-based adhesives commonly used for plastics. These bonds are durable and resistant to heat, moisture, and chemicals, ensuring long-lasting product integrity. Precise Control and Versatility: The targeted cure with UV light allows for pinpoint precision during the bonding process. This is ideal for automated manufacturing applications and bonding intricate plastic parts. Our wide range of UV adhesive formulations cater to a variety of plastics, ensuring optimal performance for your specific needs. Improved Aesthetics: Many Cure On Demand Incure UV adhesives are optically clear, creating invisible bonds that maintain the visual integrity of your plastic components. This is particularly beneficial for applications where a clean, seamless appearance is desired. Streamlined Production: The fast cure times and targeted application of UV adhesives minimize rework and waste associated with traditional adhesives. This leads to increased efficiency and reduced production costs. Benefits for Manufacturers: Faster Production Cycles: Reduced cure times translate to increased output and improved overall productivity. Enhanced Product Quality: Strong, durable bonds ensure reliable product performance for your customers. Reduced Manufacturing Costs: Minimized waste and streamlined processes lead to significant cost savings. Improved Process Control: Precise application and fast cure times allow for greater control over your manufacturing processes. Environmentally Friendly: Many Cure On Demand Incure UV adhesives are solvent-free, contributing to a safer work environment and reduced environmental impact. Ready to Take Your Plastic Bonding to the Next Level? If you're a manufacturer seeking to revolutionize your plastic bonding process, increase efficiency, and achieve superior results, Cure On Demand Incure UV adhesives are the perfect solution. We offer a wide range of formulations designed specifically for various plastics and bonding applications. Contact us today to discuss your specific needs and explore how our UV adhesives can transform your plastic bonding processes. Let's unlock the potential for faster, more efficient, and higher-quality plastic manufacturing, together.

Comments Off on Revolutionize Plastic Bonding for Manufacturing: Introducing Cure On Demand Incure UV Adhesives

Introducing Incure UV Glue for Bonding Glass to Metal: A Guide for Professionals

In the demanding world of manufacturing and assembly, finding a reliable adhesive that can effectively bond dissimilar materials like glass and metal is crucial. Incure UV glue stands out as an exceptional solution, offering unparalleled performance and efficiency for professionals who need precise and durable bonds. This blog will introduce you to the benefits of using Incure UV glue for glass-to-metal bonding and explain why it is the preferred choice for many industry experts. What is Incure UV Glue? Incure UV glue is a type of adhesive that cures, or hardens, when exposed to ultraviolet (UV) light. This rapid curing process makes it an ideal solution for applications requiring quick, strong, and clear bonds. Incure UV glue is specially formulated to provide excellent adhesion between glass and metal, making it suitable for a wide range of industrial and commercial applications. Key Benefits of Incure UV Glue for Glass-to-Metal Bonding 1. Rapid Curing Time One of the most significant advantages of Incure UV glue is its rapid curing time. Unlike traditional adhesives that may take hours or days to fully set, Incure UV glue cures within seconds when exposed to UV light. This quick curing process enhances production efficiency, reduces downtime, and allows for faster assembly lines, increasing overall productivity. 2. Strong and Durable Bonds Incure UV glue is designed to create strong and durable bonds between glass and metal. The adhesive forms a robust bond that can withstand various stresses and environmental conditions, ensuring the longevity and reliability of the bonded components. This strength is particularly crucial in applications where safety and durability are paramount. 3. Clear and Aesthetic Finish For applications where appearance is important, such as in consumer electronics, architectural projects, and decorative items, Incure UV glue provides a clear and invisible bond line. This clear finish enhances the aesthetic quality of the finished product, ensuring a professional and clean look. 4. Precision and Control The curing process of Incure UV glue allows for precise control over the bonding process. Since the adhesive does not cure until exposed to UV light, professionals have ample time to position and adjust components accurately. This precision is essential in complex assemblies and delicate applications where exact alignment is required. 5. Versatility in Applications Incure UV glue is highly versatile and can bond a wide variety of substrates, including different types of glass and metals. This versatility makes it an ideal choice for various industries, from electronics and automotive to aerospace and medical devices. Whether you need to bond transparent glass to stainless steel or decorative glass to aluminum, Incure UV glue can handle the task with ease. 6. Environmental Benefits Incure UV glue is an environmentally friendly adhesive option. It typically contains fewer volatile organic compounds (VOCs) than traditional adhesives, resulting in lower emissions and reduced environmental impact. Additionally, the rapid curing process consumes less energy, further contributing to sustainability efforts. 7. Cost-Effectiveness While the initial investment in UV curing equipment may be higher, the long-term cost savings are substantial. The…

Comments Off on Introducing Incure UV Glue for Bonding Glass to Metal: A Guide for Professionals

Adhesive Failure: Understanding the Root Causes and Effective Solutions

In the world of DIY and repairs, adhesives are champions. They bond, mend, and hold our projects together. But sometimes, the bond breaks, leaving us frustrated and questioning our crafting prowess. Fear not, fellow fixer-uppers! Adhesive failure is a common foe, but with a little knowledge, you can easily conquer it. This blog delves into the secret world of adhesive failure, exploring the culprits behind a broken bond and the solutions to get your projects sticking strong. The Usual Suspects: Why Adhesives Fail Several factors can lead to a failed adhesive bond. Here are the most common offenders: Improper Surface Prep: Imagine trying to hug someone covered in mud. It wouldn't stick, right? The same goes for adhesives. Surfaces need to be clean, dry, and free of dirt, oil, or grease for optimal adhesion. Material Mismatch: Not all adhesives are created equal. Using the wrong adhesive for the job is a recipe for disaster. Ensure you choose an adhesive compatible with the materials you're bonding (think super glue for plastics, epoxy for metals). Environmental Extremes: Imagine leaving your favorite ice cream cone outside on a hot day. Meltdown! Similarly, extreme temperatures, humidity, or UV exposure can weaken or break an adhesive bond. Choose an adhesive formulated for the expected environmental conditions. Squeeze on the Cure: Following the manufacturer's instructions is crucial. Improper application, mixing ratios, or cure times can significantly impact the bond's strength. Stress and Strain: Adhesives have their limits. Overloading a joint with excessive weight, pressure, or movement can lead to failure. Consider the stress the bond will face and choose an adhesive with the appropriate strength and flexibility. Fixing the Fix: Solutions for Strong Bonds Now that you know the enemies, here's how to fight back: Clean is King: Before applying any adhesive, thoroughly clean and dry the surfaces with rubbing alcohol or the recommended cleaning agent. Read the Label: Don't underestimate the power of the manufacturer's instructions. They'll guide you on proper surface preparation, application techniques, and cure times for optimal results. Test and Try: Unsure about an adhesive or material combination? Always conduct a test on a scrap surface before committing to your entire project. Clamp Down: Clamping bonded pieces together during the curing process ensures good contact and a stronger bond. Consider Mechanical Fasteners: For high-stress applications, complement the adhesive with screws, rivets, or other fasteners for added security. By understanding the causes of adhesive failure and implementing these solutions, you can ensure your projects stay securely bonded for years to come.

Comments Off on Adhesive Failure: Understanding the Root Causes and Effective Solutions

UV Glue and Phone Screens: A Sticky Situation? Separating Myth from Fact

In the world of phone repairs, cracked screens are a common woe. DIY enthusiasts often turn to UV glue as a potential solution. But a crucial question arises: Does UV glue damage the phone screen? The answer depends on several factors, and navigating the web can be confusing. Let's separate myth from fact and explore the potential risks and considerations when using UV glue on phone screens. Potential Risks of UV Glue on Screens While UV glue can be a powerful bonding agent, there are potential drawbacks when used on phone screens: Heat Generation: The curing process of some UV glues can generate heat, potentially damaging delicate phone components like the LCD display or touch screen functionality. Improper Application: Excess glue or seepage into the phone's interior can damage internal components or disrupt functionality. Degradation of Oleophobic Coating: Some UV glues might affect the phone screen's oleophobic coating, which repels fingerprints and keeps the screen smooth. Uneven Curing: Uneven light exposure during curing can lead to a distorted or uneven screen appearance. Manufacturer Warnings and Alternatives It's important to note that many phone manufacturers explicitly advise against using UV glue for screen repairs. They often recommend professional repairs or official replacement screens to ensure optimal functionality and avoid voiding warranties. Considering Alternatives for Screen Repair Here are some alternative solutions for cracked phone screens: Professional Repair Services: Trained technicians have the expertise and tools to replace the screen safely and effectively. Official Replacement Screens: Using manufacturer-approved replacement screens guarantees compatibility and maintains warranty coverage. Screen Protectors: While not a fix for cracks, high-quality screen protectors can offer additional protection against future damage. When Might UV Glue Be Okay (with Caution)? In some limited scenarios, UV glue might be a viable option, but with extreme caution: Small, Non-Touch-Sensitive Cracks: For very minor cracks that don't affect touch functionality, UV glue might be a temporary fix. However, proceed with significant caution and research specific repair tutorials for your phone model. Non-Essential Devices: If the phone is an older model or not your primary device, the risk of further damage might be more acceptable. However, professional repair is still the safest option. The Takeaway: Safety First for Your Phone Screen While UV glue can be a useful adhesive in various applications, it's important to prioritize the safety of your phone screen. Professional repair services or official replacement screens are generally the recommended approach to ensure optimal functionality and avoid potential damage caused by UV glue. Remember: A phone screen is a crucial component, and a repair gone wrong can be costly. If you're unsure, err on the side of caution and seek professional help.

Comments Off on UV Glue and Phone Screens: A Sticky Situation? Separating Myth from Fact

Unleashing Precision: The Advantages of UV Resin for 3D Printing

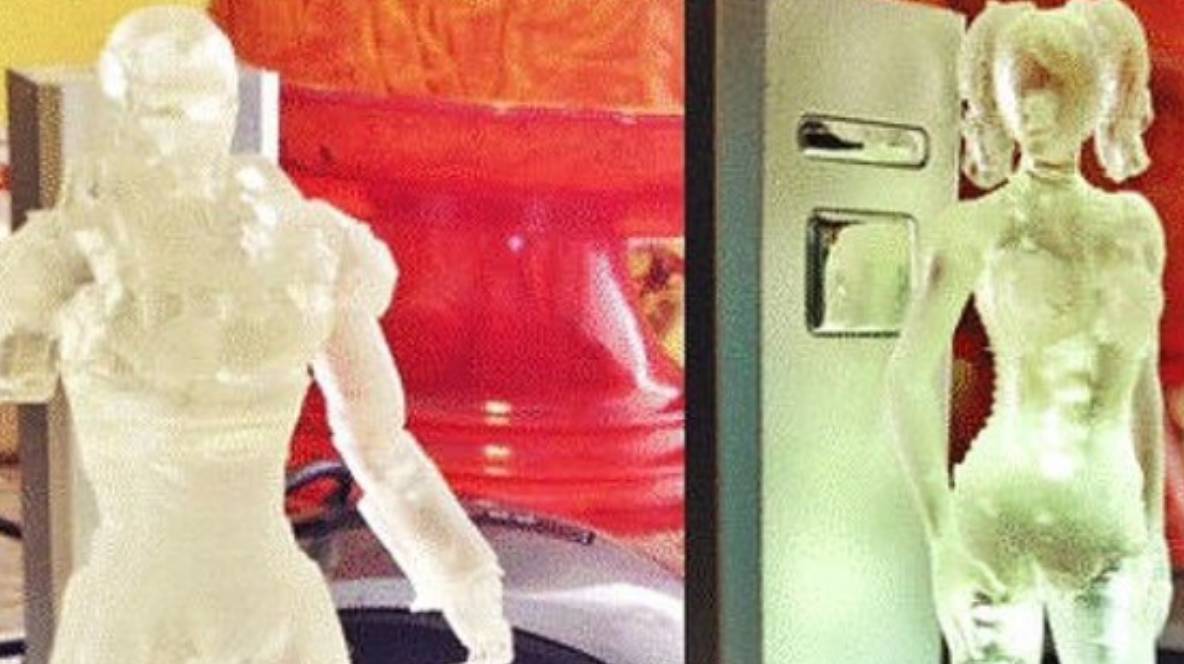
For hobbyists and professionals alike, 3D printing has become a powerful tool for creating intricate objects and bringing ideas to life. But within the realm of 3D printing itself lies a diverse range of materials, each offering unique benefits. Today, we'll delve into the world of UV resin and explore why it might be the perfect choice for your next 3D printing project. What is UV Resin and How Does it Work? UV resin, also known as SLA resin (Stereolithography Apparatus resin), is a photosensitive liquid used in 3D printers that employ SLA technology. These printers work by directing a focused beam of ultraviolet (UV) light onto the resin layer by layer, solidifying it according to the digital blueprint. This precise curing process allows for exceptional detail and smooth surface finishes. The Allure of UV Resin: Unveiling the Advantages So, why choose UV resin for your 3D printing endeavors? Here are some compelling reasons: Unmatched Resolution: Due to the layer-by-layer curing with UV light, UV resin offers unparalleled resolution in the 3D printing world. This makes it ideal for projects requiring intricate details, such as jewelry prototypes, miniature figurines, or highly detailed architectural models. Superior Smoothness: Say goodbye to visible layer lines! UV resin prints boast a remarkably smooth surface finish, eliminating the need for extensive post-processing steps often required with other 3D printing materials like FDM filament. This translates to objects with a more professional and aesthetically pleasing appearance. Broad Material Range: While traditionally known for clear resins, the UV resin landscape has grown significantly. Today, you can find UV resins in various colors, opacities, and even with special properties like flexibility or high-temperature resistance. This versatility opens doors for a wider range of applications. Faster Printing Times: Compared to other 3D printing methods, UV resin printing can boast faster printing speeds. This is because the curing process with UV light happens rapidly, translating to quicker turnaround times for your projects. Functional Prototyping Potential: UV resins aren't just for show! With the availability of tougher resins, UV printing can be suitable for creating functional prototypes that require a balance of detail and durability. Considering UV Resin? A Few Points to Ponder While UV resin offers a plethora of advantages, it's essential to be aware of some considerations: Safety First: UV resin can be an irritant, so proper handling and safety precautions are crucial when working with it. This includes wearing gloves, eye protection, and ensuring proper ventilation in your printing space. Post-Processing: While minimal compared to other methods, UV resin prints may still require some post-processing, such as cleaning away excess resin and support structures. Material Cost: UV resin tends to be more expensive per liter compared to some FDM filaments. However, the high detail and potentially smaller amount of material needed for a project can balance out the cost. The Final Verdict: Is UV Resin Right for You? If you prioritize exceptional detail, smooth surface finishes, and faster printing times for your 3D creations, then UV resin is…

Comments Off on Unleashing Precision: The Advantages of UV Resin for 3D Printing

The Ultimate Guide to 3D Printing Technologies: Pros, Cons, and When to Use Each

The world of 3D printing is booming, offering anyone the ability to create complex objects from the comfort of their home (or workshop). But with so many 3D printing technologies available, choosing the right one can feel overwhelming. Fear not, maker enthusiast! This blog will be your one-stop guide to popular 3D printing methods, exploring their pros, cons, and ideal applications. Understanding 3D Printing: Building Block by Block At its core, 3D printing builds objects layer by layer based on a digital blueprint. This allows for the creation of intricate shapes and designs that would be impossible with traditional manufacturing. However, the way each layer is formed varies greatly, leading to distinct 3D printing processes, each with its own strengths and weaknesses. Top Contenders in the 3D Printing Arena Let's delve into some of the most widely used 3D printing technologies, highlighting their pros, cons, and prime uses: Fused Deposition Modeling (FDM): The Accessible Workhorse Pros: Affordable, user-friendly, vast material selection (ABS, PLA, etc.), good for rapid prototyping. Cons: Lower resolution, visible layer lines, may require support structures and post-processing. Ideal for: Beginners, quick prototypes, hobbyists, large objects. Stereolithography (SLA): The Michelangelo of 3D Printing Pros: Unparalleled detail and smooth surface finish, ideal for intricate designs. Cons: Limited material selection (mostly resins), can be more expensive than FDM. Ideal for: Jewelry, dental applications, high-resolution models, design visualization. Selective Laser Sintering (SLS): The Powerhouse for Durability Pros: Excellent for functional prototypes and end-use parts, high strength and durability, wider material range (including metals). Cons: Requires specialized handling (powder material), higher cost compared to FDM and SLA. Ideal for: Functional prototypes, prosthetics, industrial applications. Digital Light Processing (DLP): The Speedy Resin Specialist Pros: Faster printing times than SLA, good resolution and detail, works with resins. Cons: Similar limitations to SLA in material selection and post-processing. Ideal for: Mid-range prototypes, art pieces, industrial tooling. PolyJet: The Multi-Material Master Pros: Prints multiple colors and materials in a single build, excellent for complex prototypes. Cons: High cost per print, limited build volume compared to some methods. Ideal for: Multi-part functional prototypes, detailed models requiring multiple materials. Choosing the Right Tool for the Job With a variety of 3D printing processes at your disposal, selecting the perfect one boils down to your specific project needs. Here are some key factors to consider: Material: Do you need a strong, functional part, a high-resolution model with smooth finish, or multi-colored components? Accuracy and Detail: How important are fine features and a polished look for your project? Cost: Budget is a real consideration. FDM is generally the most affordable, while metal SLS printing can be expensive. Complexity: How intricate is your design? Some methods, like FDM, may struggle with complex geometries. The Takeaway: Unlocking Your Creativity with 3D Printing The world of 3D printing offers endless possibilities for creators and innovators. By understanding the different types of 3D printing technologies, their strengths and limitations, you're well on your way to selecting the perfect tool to bring your ideas to…

Comments Off on The Ultimate Guide to 3D Printing Technologies: Pros, Cons, and When to Use Each

Shine On: UV Glass Bonding Adhesives for Seamless Glass and Industrial Assembly

Glass, with its elegance and durability, is a popular material across various industries. However, traditional assembly methods involving mechanical fasteners or messy epoxies can be time-consuming, affect aesthetics, and introduce stress points. Enter UV glass bonding adhesives – a revolutionary solution offering a faster, cleaner, and stronger approach to glass assembly for industrial applications. This blog dives into the world of UV glass bonding adhesives, exploring their functionalities, advantages, and diverse applications for achieving flawless glass assemblies. What are UV Glass Bonding Adhesives? UV glass bonding adhesives are specialized liquid formulations that cure upon exposure to ultraviolet (UV) light. Here's what makes them ideal for glass assembly: Rapid Curing: Exposure to UV light triggers fast polymerization, creating a strong bond between glass components within seconds or minutes. This significantly reduces assembly times compared to traditional methods. Crystal Clear Bond: Cured UV adhesives are virtually transparent, maintaining the visual clarity of the glass assembly. Conformal Coating: The liquid form fills even the most intricate gaps and contours between glass pieces, ensuring a seamless and aesthetically pleasing bond line. Strong and Durable Bonds: Cured UV adhesives form high-strength bonds that can withstand various environmental stresses, including moisture, vibration, and thermal cycling. Versatility: Available in various formulations with different viscosities and properties to cater to specific application needs, such as flexibility or high-temperature resistance. Benefits of UV Glass Bonding Adhesives for Industrial Assembly UV glass bonding adhesives offer significant advantages over traditional glass assembly methods: Increased Throughput: Fast curing times significantly expedite assembly processes compared to heat-cured epoxies, boosting production efficiency. Enhanced Aesthetics: Eliminates the need for visible fasteners, creating a clean and visually seamless glass assembly. Improved Strength and Durability: Strong bonds with minimal stress points enhance the overall strength and reliability of the glass assembly. Simplified Application: One-part formulations eliminate the need for complex mixing procedures, promoting ease of use. Reduced Environmental Impact: UV curing eliminates the need for heat, reducing energy consumption compared to traditional methods. Certain formulations offer low VOC emissions. Applications for UV Glass Bonding Adhesives The versatility and efficiency of UV glass bonding adhesives make them ideal for various industrial assembly applications involving glass: Electronics Manufacturing: Bonding touch screens, display covers, and other glass components in electronic devices. Consumer Goods: Assembling glass shelves, furniture components, and decorative glass items. Architectural Applications: Bonding glass panels in partitions, doors, and other architectural elements. Medical Devices: Assembling glass components in medical devices requiring high precision and sterility. Optical Applications: Bonding lenses, prisms, and other optical components for superior light transmission. Appliance Manufacturing: Securing glass panels in appliances for a sleek and modern aesthetic. Choosing the Right UV Glass Bonding Adhesive Selecting the optimal UV glass bonding adhesive requires considering several factors: Substrate Compatibility: Ensure the adhesive adheres well to the specific types of glass being bonded. Desired Bond Strength: Choose an adhesive with the necessary strength to withstand the expected loads and stresses. Environmental Conditions: Consider factors like temperature, moisture, and chemical exposure to select an adhesive with appropriate resistance.…

Comments Off on Shine On: UV Glass Bonding Adhesives for Seamless Glass and Industrial Assembly

Crystal Clear Fixes: Mastering Glass Repair with UV Adhesives

Broken glass can be a real headache. Replacing a shattered window or a favorite ornament can be expensive and time-consuming. But fear not! There's a solution that offers a quick, effective, and surprisingly strong fix: UV adhesives. This blog delves into the world of UV adhesives for glass repair, empowering you to tackle those glass mishaps with confidence. What are UV Adhesives? UV adhesives are a special type of glue that cures rapidly when exposed to ultraviolet (UV) light. They come in various viscosities (thicknesses) and formulations, making them suitable for bonding a wide range of materials, including glass. Why Choose UV Adhesives for Glass Repair? UV adhesives offer numerous advantages for glass repairs: Unmatched Speed: Unlike traditional glues that require hours to cure, UV adhesives solidify in seconds upon exposure to UV light. This minimizes downtime and allows you to complete repairs quickly. Crystal Clear Bond: When cured properly, UV adhesives form a clear, virtually invisible bond that maintains the visual integrity of the glass object. Strong and Durable Bonds: These adhesives create surprisingly strong bonds that can withstand significant stress in many glass repair applications. Easy to Use: Most UV adhesives come in user-friendly applicators like syringes or pens, requiring minimal preparation for use. Precise Application: The targeted nature of UV curing allows for precise control over the bonding area, minimizing the risk of messy overflow. Before You Begin: Preparing for Glass Repair with UV Adhesives For a successful repair, proper preparation is key: Gather Your Supplies: You'll need UV adhesive, a UV light source (often a small handheld lamp), cleaning supplies (alcohol wipes, microfiber cloth), and safety equipment (gloves, safety glasses). Clean the Glass Thoroughly: Remove any dirt, debris, or oil from the bonding surfaces using cleaning wipes. Ensure the area is completely dry before applying the adhesive. Plan Your Bond: Carefully position the broken glass pieces together to ensure a proper fit. Consider using tape to hold the pieces temporarily in place. Repairing Glass with UV Adhesives: A Step-by-Step Guide Apply the Adhesive: Following the manufacturer's instructions, apply a small bead of UV adhesive to one of the clean, dry bonding surfaces. Reassemble the Glass: Carefully position the broken pieces together, aligning them precisely. UV Light Curing: Expose the bonded area to the UV light source according to the recommended curing time (typically a few seconds to a minute). Hold the light steady to ensure even curing. Wipe Away Excess: While the adhesive is still slightly uncured, use a cotton swab dipped in alcohol to remove any excess adhesive that might have squeezed out. Full Cure: Allow the adhesive to fully cure for the recommended time as specified by the manufacturer (usually a few minutes). Tips for Flawless Glass Repairs with UV Adhesives Work in a well-ventilated area. Wear gloves and safety glasses for protection. Practice on scrap glass pieces before tackling your actual repair. Use masking tape to hold small fragments in place during the bonding process. For larger repairs, consider using a UV curing…

Comments Off on Crystal Clear Fixes: Mastering Glass Repair with UV Adhesives